Tahba and the Dark Mate
Introduction
This section contains information about the mechanics that will be used in the Epilogue of the "Tahba and the Dark Mate" campaign.
Once the event is complete, the information displayed here will be kept in case it's needed to be used again or if someone else wishes to use the same or similar mechanics for their events.
Everything else not covered in this section will be covered by the general guidelines of the DMing system presented in its respective section.
Corruption System
There will be a corruption system in place to reflect the fact that the characters involved are facing a dro-m'Athra and that they risk getting corrupted themselves while fighting it (by either becoming a dro-m'Athra themselves, if a Khajiit, or becoming possessed by one, if a non-Khajiit).
So, all characters (except the dro-m'Athra obviously) will start with 0 Corruption Points (I'll be calling them CP from now on, but they have nothing to do with the in-game champion points) and the goal is to keep them to 0 or as low as possible. Getting 5 CP means that the character has been fully corrupted.
While Khajiit risk becoming dro-m'Athra themselves (and non-Khajiit risk being possessed by the dro-m'Athra) and, as a result, they can even turn on their former allies, the actual outcome may not be necessarily that. Since a player may not be willing to take their character that far down that path, the least that will happen if a character reaches 5 CP is that they will no longer be able to aid their allies during the battle. Beyond that, it's up to each player to decide what happens to their character considering that it could lead to a permanent (and not necessarily desired) path.
How is this CP system going to work?
A dro-m'Athra can use a turn to attempt a corruption against a single character, based on its own strength against the resolve/willpower of the character. If the dro-m'Athra succeeds, the character gets 1 CP; if it fails, no CP are added or removed.
A priest or a cantor can use a turn to attempt to remove corruption from a single character, based on their own skill against the intensity of the corruption. If they succeed, the character in question loses 1 CP; if they fail, no CP are added or removed.
Note that the difficulty of earning or losing each CP will be exactly the same for a character, based on the factors mentioned above, no matter how many CP a character has, to keep things simple. Besides, it will take considerably more effort to remove 4 CP from a character than just 2.
To Summon Minions
Or Not To Summon?
That's the question. And it can't be answered in a straightforward manner, because it really depends on the final number of the participants.
If the group is small, like 4 people (without counting the dro-m'Athra boss), it may not make much sense for the dro-m'Athra to summon minions. The battle should already be challenging enough, considering the corruption system that will be used in the event as well.
If the group is slightly larger, like 6 people, the dro-m'Athra boss may summon 2 minions once.
If the group is much larger, from 8 people and above, the dro-m'Athra boss may summon either more minions once (not more than 4) or 2-3 minions twice.
The main idea is to keep a balance between both sides so that the battle can be challenging as much as needed, while still being fun to participate in.
I'm An Altoholic!
Normally, you don't need to care about it. In this case, however, it matters because I will be participating in this event with not just one character but 4. Yes, you read it right: 4. And they will be Tahba (of course), Terisus, Shurranirr and Shudasha. It makes sense for them to be present during the event and be actively played (to a different degree each) and I will describe further below how each of them will be involved.
Considering that the main aspect of this event will be a battle, which in turn means that rounds will be used to ensure that every participating player can play their part, I won't be roleplaying all 4 of them in each round because that would be unfair to others and unbalancing in favour of my characters. Instead, I will be focusing on one of them each round with two exceptions:
(a) More than one of my characters are attacked during the same round, in which case it makes sense for them to react to the attack in some way and
(b) If my Twilight Cantor Shurranirr needs to give a specific instruction to my warrior Shudasha.
More on that below.
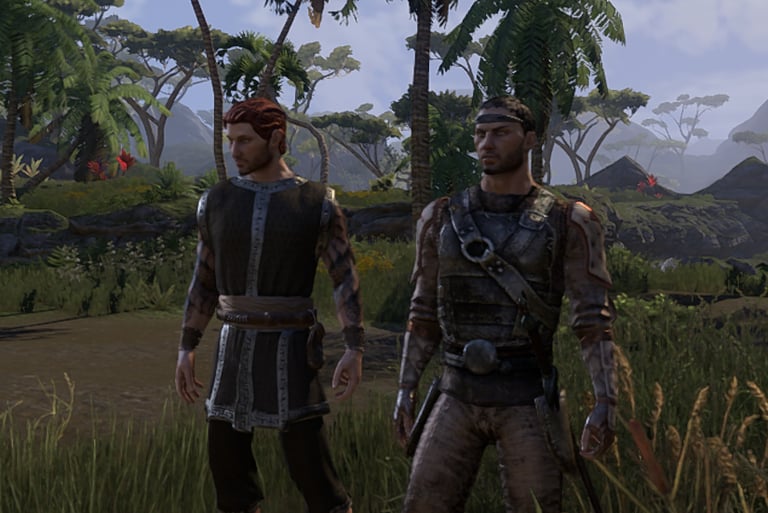
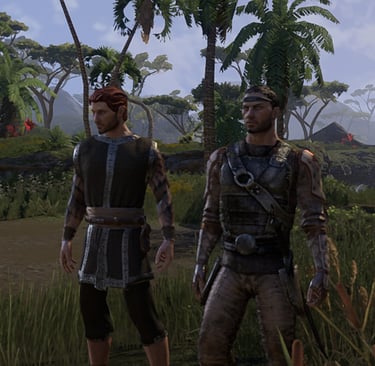
Tahba
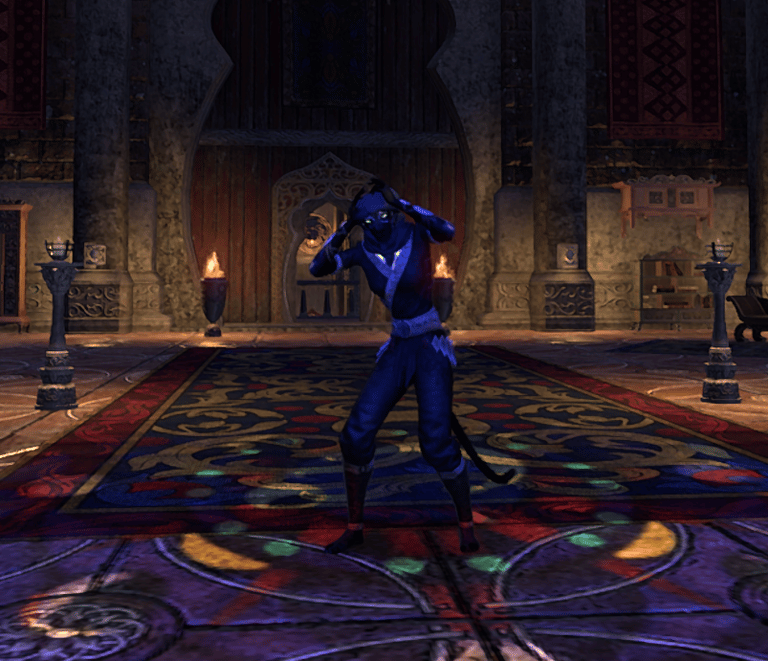
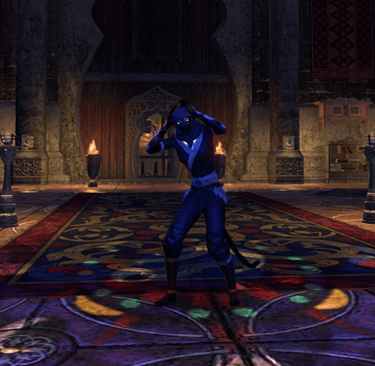
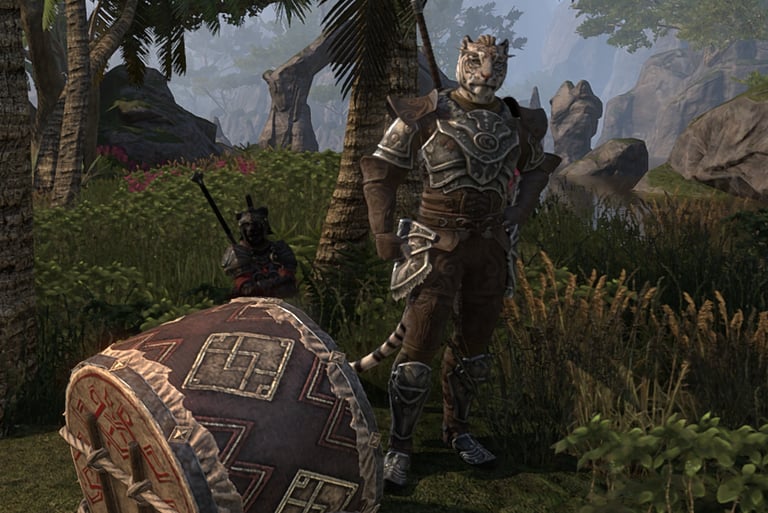
Tahba will be represented by Ember during the event. She will be standing in her spot as seen in the screenshot and won't be directly involved in the battle. She will only fight the corruption inside herself.
In the screenshot, you might be able to see that she also has a dagger at her side. It's the in-game representation of her boot-knife that no one noticed to take from her. Meaning that she can use it, if she decides to do so.
Terisus
Terisus will be represented by Bastian Hallix during the event. He will be using his old and badly torn armour and sword without a shield.
He won't be involved in battle much, except when either he or Tahba are physically attacked. His duty will be limited mostly to supporting Tahba mentally and emotionally.
Shurranirr
If Shurranirr isn't my main character, she will be represented by Biro-dar. As a Twilight Cantor, she will be directly involved in the battle by chanting the Dusk Canticles to banish the dro-m'Athra boss and to cleanse the corruption from her allies' souls.
She may carry a staff with her, but she doesn't really know how to use it as a blunt weapon, so she will need to be defended by others in order to play her role well.
At certain times, she may give instructions to Shudasha. These involve playing a certain drum, ringing a certain Khenarthic bell and other tasks of similar nature. In this case, Shurranirr's action for the round will be just to give such instructions and nothing else.
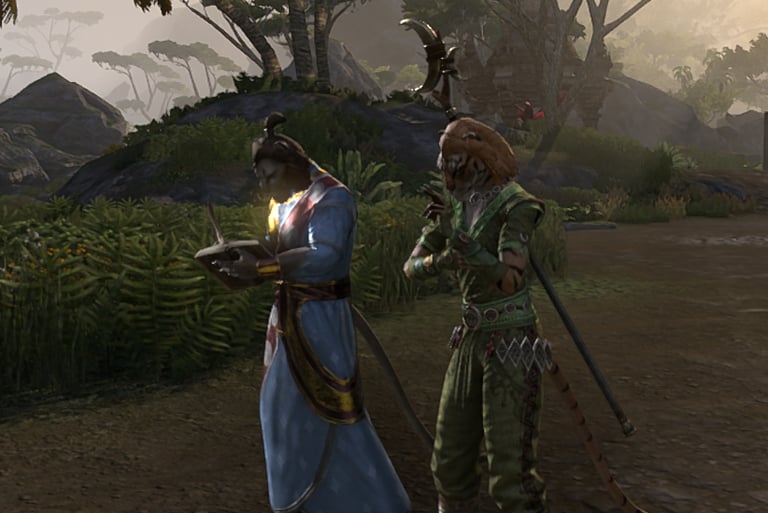
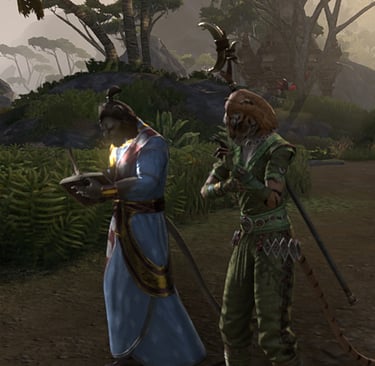
Shudasha
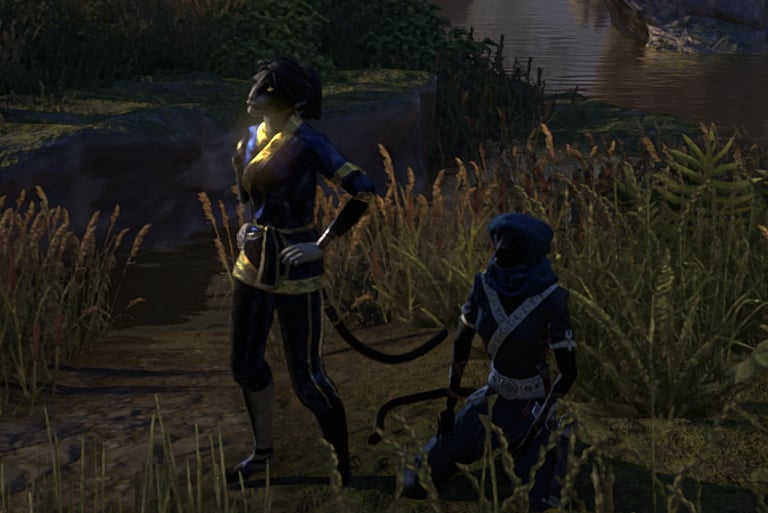
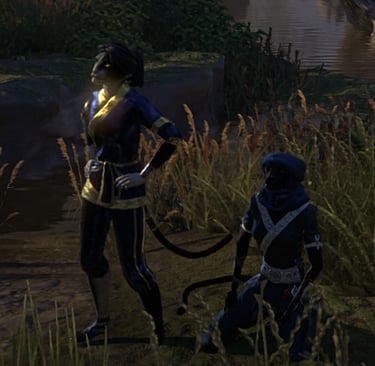
If she doesn't become my main character in the event, she will be represented by J'Baanluk. Oh, please, disregard the height difference between the two of them. Shudasha is as much a Pahmar-raht as J'Baanluk is. In game, she is as tall as the game sliders allow. In-character, the top of her head reaches J'Baanluk's eyebrows.
Anyway, with Shudasha being a warrior, she is expected to be directly involved in battle, but it won't be exactly the case. Shudasha's duty is to guard Tahba and Terisus and to perform Shurranirr's tasks.
If such a task is fairly easy and straightforward, Shudasha will complete it during the same round she is given the task. If it's something more complicated, it can take her up to 3 rounds in total (the one she gets the task included). If she is interrupted while performing a task, she will stop to deal with the interruption. Considering, though, that she deals with physical objects, once she gets back to her task, she will resume it from where she left it.

Who Else Will Be There?
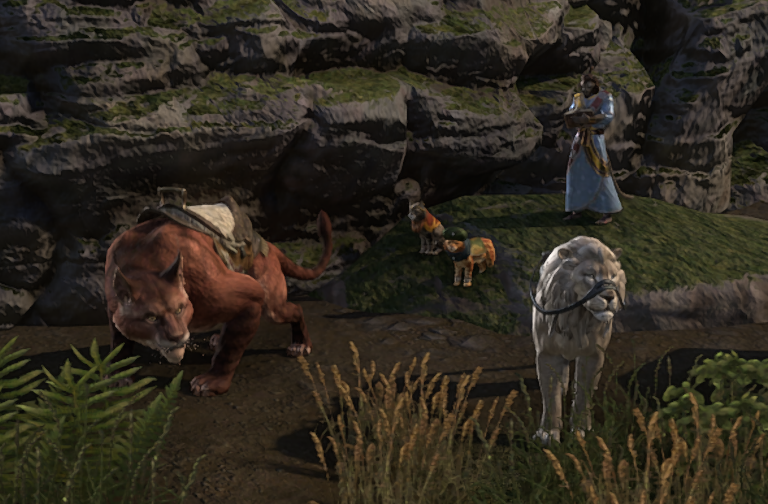
Apart from the four basic characters of mine, there will be a few more hidden deeper within the plantation, whose involvement will be minimal to none. These characters will be:
- Rabirranirr (Biro-dar) or Kesirr-do (J'Baanluk) if Shudasha is my main and Biro-dar represents Shurranirr.
- Do'Urjarri (Senche-raht mount)
- Ja'Jidarr (White lion mount)
- Priestess Ajivari (Ezabi)
- Priest Need-to-find-him-a-name (Fezez)
The two priests come from Khenarthi's Breath Temple and their only duty will be to make certain Khenarthic bells ring. The other characters are there to protect them in the rare case they come under attack.
In-game, they are in a fairly visible spot, because it was impossible to hide them where I hoped I could. So, until the priests are heard chanting, no one should really know they are within the plantation. But they are meant to be in a really hard to reach location, exactly to be safe and do their little part.
Ring The Bells!
The ringing of Khenarthic bells can be another interesting mechanic. There will be three kinds of Khenarthic bells in the event. Those who participated in Part II of the campaign are already aware of one: a small bell that Shurranirr carries with her.
That little bell isn't exactly as effective as one would hope, but it can do a decent job when exorcising Lost Cats and removing corruption from people "infected" by a dro-m'Athra. So, when she uses her bell to remove a CP from a character, she will be getting a nice +1 modifier in her rolls.
There will be another big bell that Shudasha will be ringing when tasked to do so. While this one is expected to also support the characters fighting the dro-m'Athra, its main goal is to impact the dro-m'Athra itself giving it a -2 debuff in all of its corrupting attempts for 2 rounds (the round the bell rings and the next one, if the dro-m'Athra hasn't acted yet, or the following 2 rounds, if it has).
And, last but definitely not least, a set of bells that will be at the responsibility of the Khenarthic priests to make ring. This one will affect both the dro-m'Athra and the characters fighting it for as long as it keeps ringing. This will give the dro-m'Athra a -2 modifier to all actions and the characters fighting it a +3 modifier to all actions (yes, it effectively raises their attribute rank).
Now, of course, the dro-m'Athra doesn't have to sit idly and just put up with all these bells. While it might be almost impossible to corrupt them, since they have been recently blessed by Khenarthic priests and said priests will be there to make some of them ring, the dro-m'Athra can still attack them and attempt to destroy them. In that case, they will no longer work and no further buffs or debuffs will be applied by them.
Health System
There will be none, because there is no need for one. While the reasoning behind this choice is described in the "DMing system" section, I will repeat it here too so that you don't have to search for it.
Players are quite cabable of determining how much beating their character can take before they are knocked out of a fight and of portraying their character's health condition during roleplay when they think they need to. So, no need for a health system.
Dice?
As a matter of personal preference, which is described in detail in the "DMing system" section, I prefer not to use dice at all to determine success or failure of a character's action. Understanding that some of the participating players may prefer using dice to determine the effect of their actions, I will be using the dice system also described in the "DMing system" section for them, with one extra case that will be detailed below.
When describing the corruption system and the particular case of a priest or cantor attempting to remove a CP from a character, I mention that they use their own skill against the intensity of the corruption. The intensity of the corruption isn't another way to describe CP. It actually depends on the inherent powers of the dro-m'Athra and the willpower of the character undergoing the CP removal attempt.
While in all other cases, the dro-m'Athra's AR and DR will be determined by its player (through roleplay or die rolls), in this case in particular the DR will have a preset value of 13, reversely affected by the willpower of the character undergoing the CP removal attempt; if the character has high willpower, the final DR will be lower and easier for a priest or cantor to succeed; if the character has low willpower, the final DR will be higher and harder for a priest or cantor to succeed.
Willpower will provide a modifier to the DR as mentioned above, based on the character's level of the attribute, as follows:
1-3: +3
4-6: +2
7-9: +1
10-11: 0
12-14: -1
15-17: -2
18-20: -3
This means that the final DR that a priest or cantor needs to beat by dice will range from 10 to 16.